Hexo-Admin
不要看我了。Hexo-admin 基于 node:13-slim ( node:14+ 貌似有问题)。
内置 Hexo-admin 的镜像。
当然还有别的玩法,通过 Github Action 自动发布到 Github Page 仓库。也就是说每当你写完博客直接提交到源仓库即可自动触发构建。这个留待以后再研究。
什么是 hexo-admin ?
hexo-admin 是一个 Hexo 博客引擎的管理用户界面插件,能实现在线管理 hexo 博客。
安装及优化[^laosu-hexo-admin]
在群晖上以 Docker 方式安装。
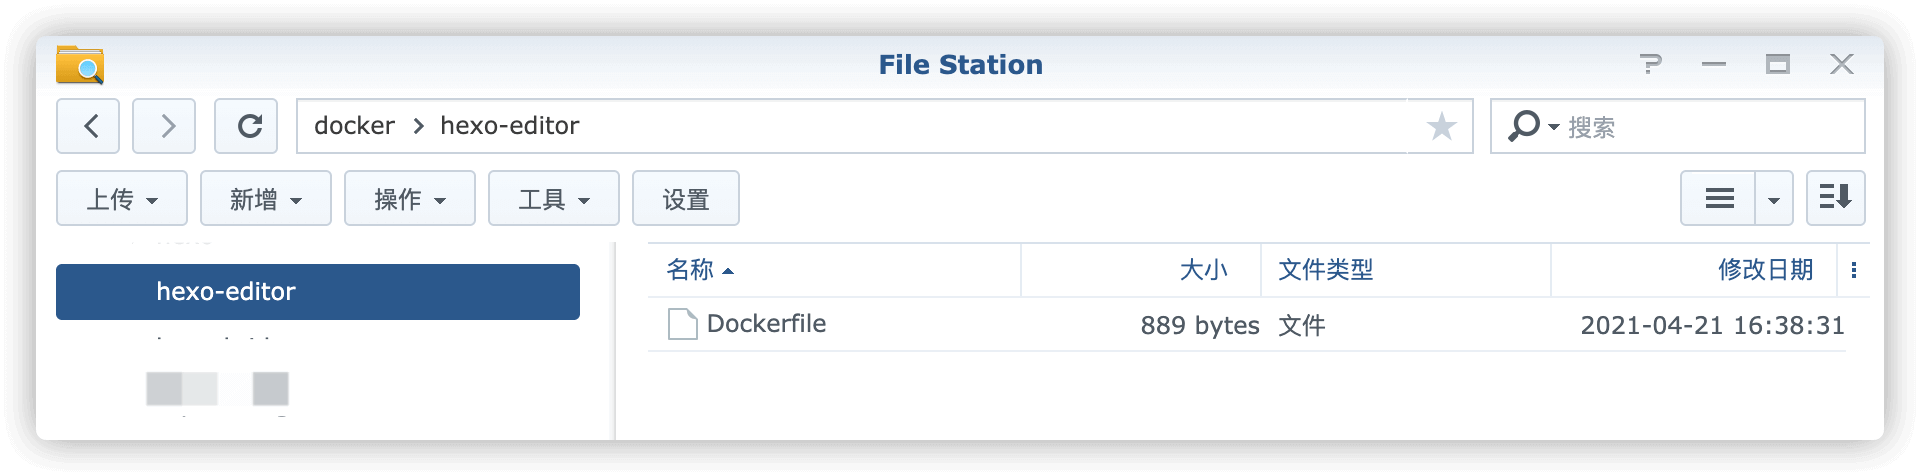
编写 Dockerfile
基于 spurin/docker-hexo 。
基于 node:13-slim ( node:14 有问题,See Hexo 4275 )
在群晖的 docker 目录中新建 hexo-with-admin 目录,然后 SSH 客户端登录到群晖 ,执行下面的命令:
1 | 进入 hexo-with-admin 目录 |
在 Dockerfile 中写入下面的内容并保存
基于 node:13-slim ( node:14 有问题,See Hexo 4275 )
Dockerfile 中添加 淘宝源。[^npm-registry]
npm config set registry=http://registry.npm.taobao.org/
Dockerfile 中的写法为: Docker 入门 (12) dockerfile 部署nodejs项目
2
RUN npm config set registry https://registry.npm.taobao.orggit clone Next 主题。(个人偏向于 不使用 npm nodemoudle 的方式
。)npm install hexo-theme-next
社区维护的版本:NexT v6 and v7 🚩, 使用 自己改过的版本 :yafey/hexo-theme-next原作者已停止维护:
https://github.com/iissnan/hexo-theme-next本项目已停止维护。⚠️
2
$ git clone -b yafey_config https://github.com/yafey/hexo-theme-next.git themes/next
清楚缓存并检测文件变动。[^Linux后台运行的几种方式] 。hexo clean && hexo generate -w & &&(hexo g -w后台运行)hexo g -w好像是线程阻塞的。设置为中国时区。
ENV TZ=CST-8
1 | FROM node:13-slim |
当然更简单的办法可以用你喜欢的编辑器保存为 Dockerfile 文件,再把 Dockerfile 文件上传到 hexo-with-admin 目录。
构建镜像
在 hexo-with-admin 目录执行生成镜像的操作
1 | 注意后面的小点 |
如果出现(肯定会出现)下面的错误:
2
Got permission denied while trying to connect to the Docker daemon socket at unix:///var/run/docker.sock: Get "http://%2Fvar%2Frun%2Fdocker.sock/v1.24/containers/spurin-HexoWithAdmin/json": dial unix /var/run/docker.sock: connect: permission denied原因是 docker 需要 root 运行权限。[^sudo-docker]
或
切换到 root 用户下(不推荐此方法,建议用上面的方式。 ) https://blog.csdn.net/qq_35957944/article/details/116796522
完成后,在镜像中会找到

配置&启动容器
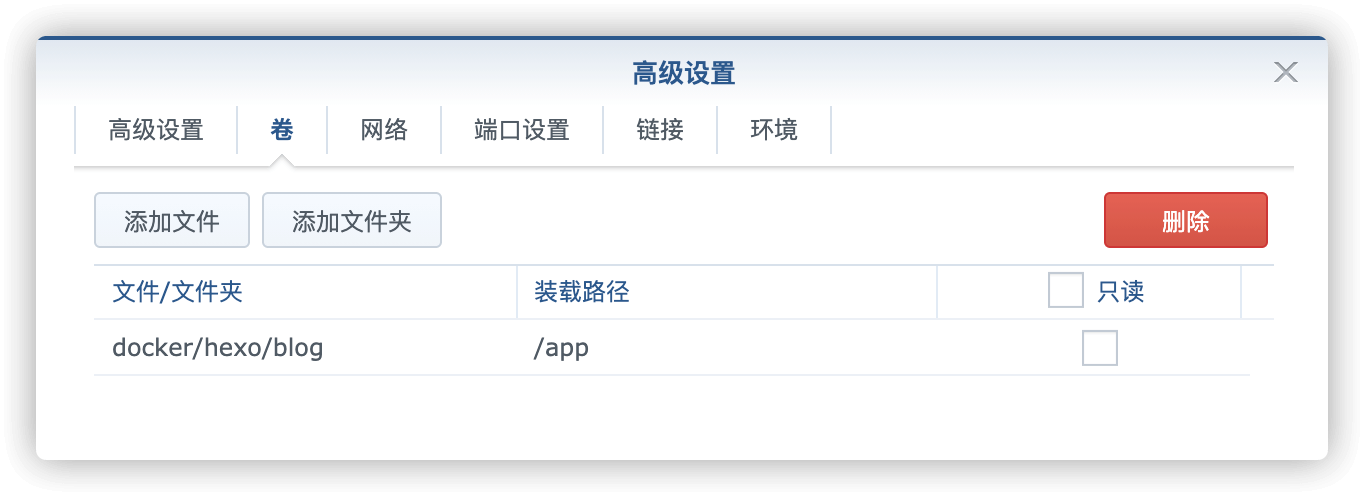
卷
在 docker 文件夹中,创建一个新文件夹,并将其命名为 hexo,然后在 hexo 文件夹中再创建 一个新的子文件夹 blog。
| 文件夹 | 装载路径 | 说明 |
|---|---|---|
/docker/_Hexo/hexo-with-Hexon-and-admin |
/app |
存放设置 |
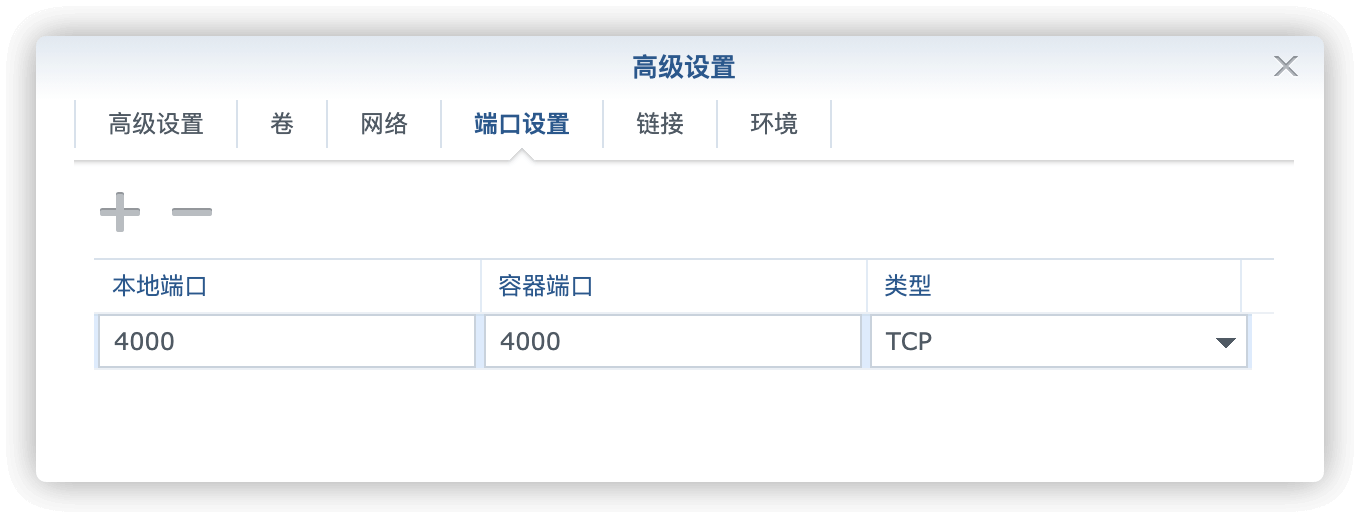
端口
端口不冲突就行
| 本地端口 | 容器端口 |
|---|---|
| 4000 | 4000 |
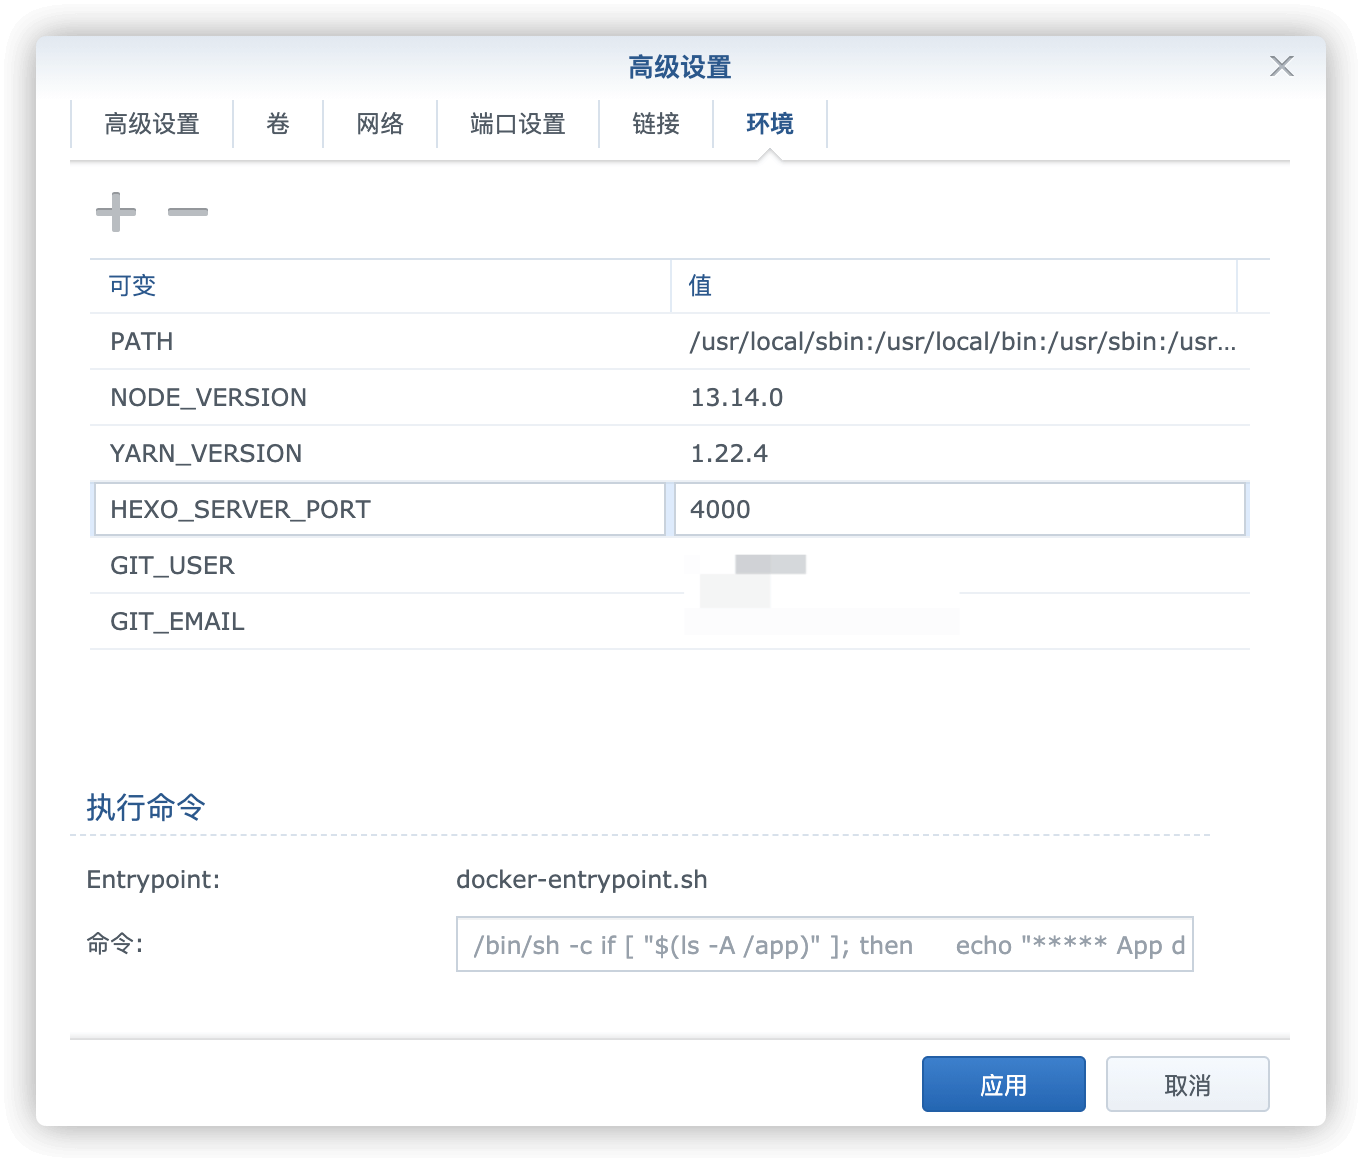
环境
| 可变 | 值 |
|---|---|
| GIT_USER | 修改为您自己的 Github 用户 |
| GIT_EMAIL | 修改为您自己的 Github 邮箱 |
用自己的
github账号是为了后续向github发布,会根据你提交的用户和邮箱生成SSH key,如果只是在群晖上编辑和预览,可以随意。
运行
在浏览器中输入 http://群晖IP:4000,开始并不能看到主界面,在日志中会显示在通过 git 拉取代码 , 如果容器异常停止, 删除 目录 hexo-with-Hexon-and-admin 后重新启动。
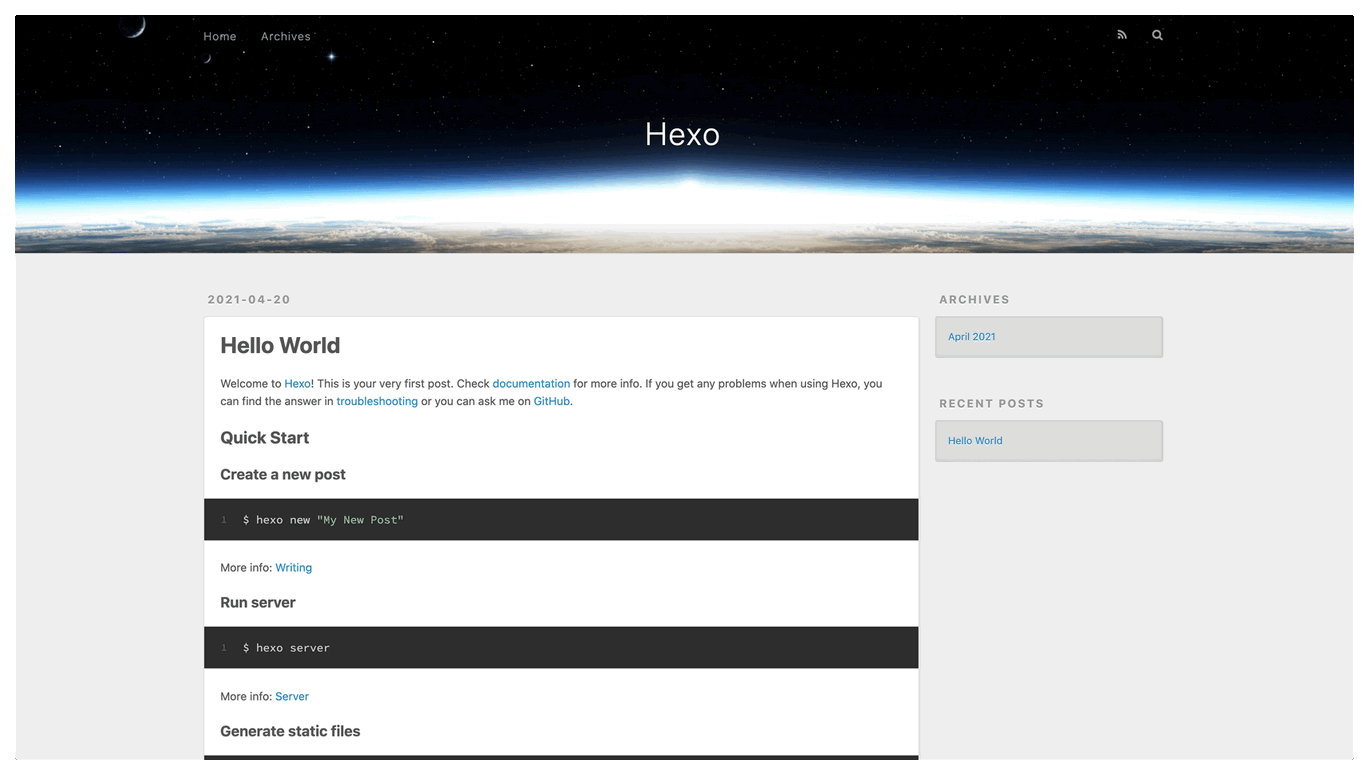
当你看到日志中出现 Hexo is running at http://localhost:4000 . Press Ctrl+C to stop. 时
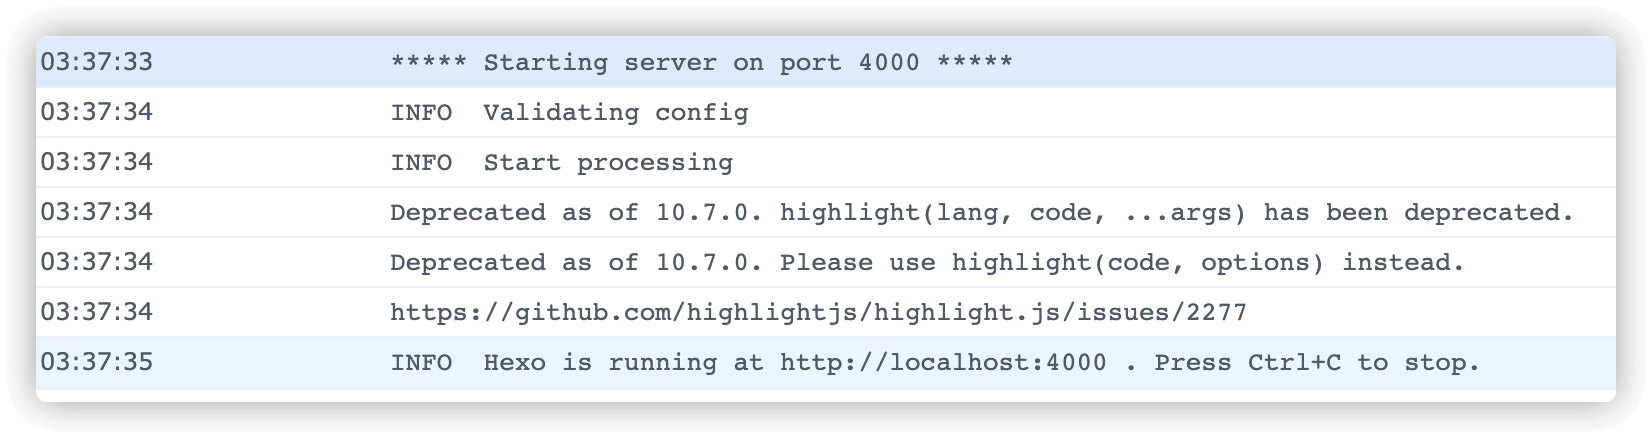
就可以在浏览器中输入 http://群晖IP:4000 看到主界面了
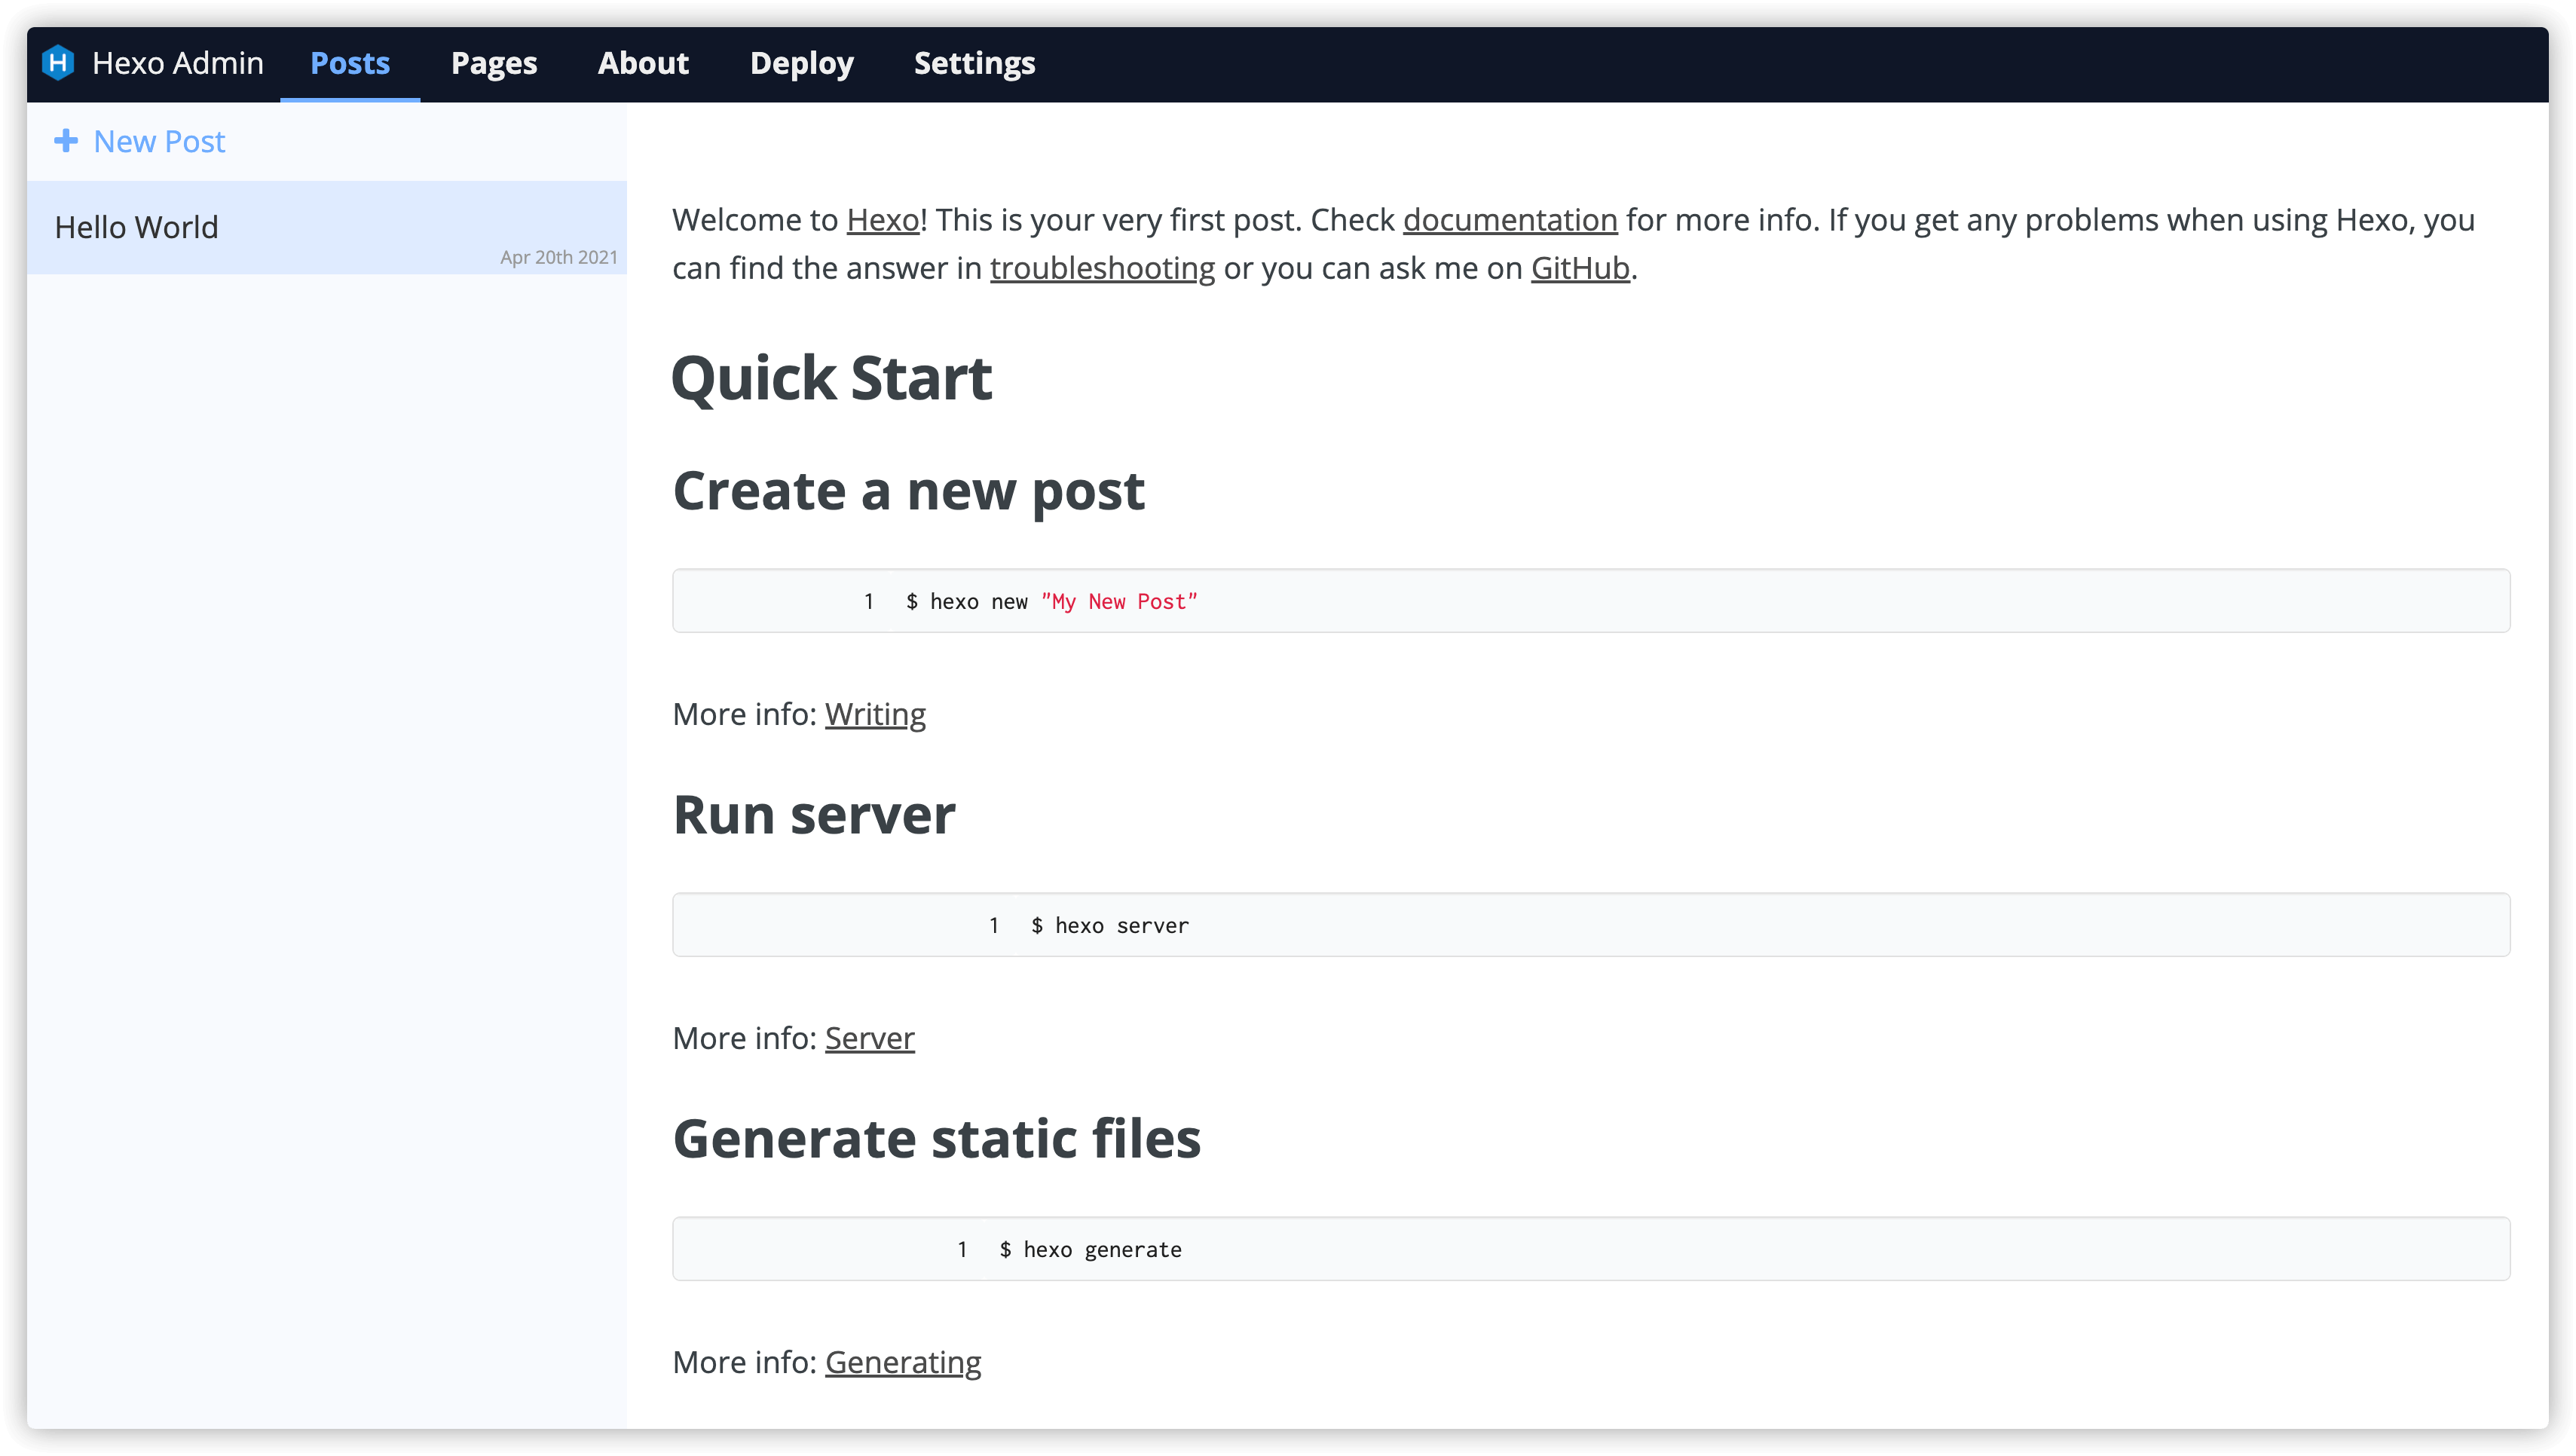
而在浏览器中输入 http://群晖IP:4000/admin 即可看到 hexo-admin 的后台管理界面
参考:
[^npm-registry]: npm 切换镜像源
2
3
4
5
6
7
## 默认官方源: http://registry.npmjs.org/
npm切换源:
切换至淘宝源:npm config set registry=http://registry.npm.taobao.org/
切换至华为源:npm config set registry=https://mirrors.huaweicloud.com/repository/npm/
切换至npm源:npm config set registry=http://registry.npmjs.org
临时使用:npm --registry https://registry.npm.taobao.org install express
[^laosu-hexo-admin]: 在群晖上复刻公网的Hexo | @archive.org
[^Linux后台运行的几种方式]: 如何让Linux命令在后台运行 - 知乎 ↩
如何让Linux命令在后台运行
2
3
4
5
6
2、使用bg向后台发送运行命令
3、使用 nohup 向后台发送命令
4、使用系统重定向运行后台命令
5、使用 disown 将 Linux 命令设置为后台运行
6、使用 Tmux 在后台运行 Linux 命令
[^sudo-docker]: 方法1:用sudo运行所有docker命令